Import function enables you to transfer data from various sources
into WinOrganizer.
To call up the Importing dialog box, select the
Import... menu item in the Tools menu (in the main
window of the program).
Importing consists of several simple steps:
Step 1. Selecting what and where to
import
Example of the Importing dialog box. Step 1:

Use this dialog box to select Source format:
- WinOrganizer .gso format
- Other formats
The Other formats item enables you to choose a type of
document to import your data into. The Type of document to
import dropdown list contains the following document types:
- Notes
- Tasks
- Events
- Passwords
- Contacts
The value of the Supported formats field depends on the
selected document type.
For Notes, it is: *.txt, *.rtf.
For all other formats: *.txt, *.csv
If you want to import a single file, select the Single file
option.
To import a group of files, select the All files in folder
option.
Note: The All files in folder option is available
only upon importing Notes.
Selecting the All files in folder option activates items
specifying the way of importing data. If you select the Include
subdirectories option, all files (of supported formats) of the
specified folder plus all files in enclosed folders will be
processed upon importing. Depending on the selected way of
processing files, each source file will create either a New
record in the document or a New document (For "Notes"
documents only).
Then you need to choose Where to import file(s):
- To the current document
- To the root folder
- To a new file
The bottom part of the Importing dialog box contains a help
field. It will show tips at every step of importing process.
Step 2
Importing process may vary depending on the format of imported
file.
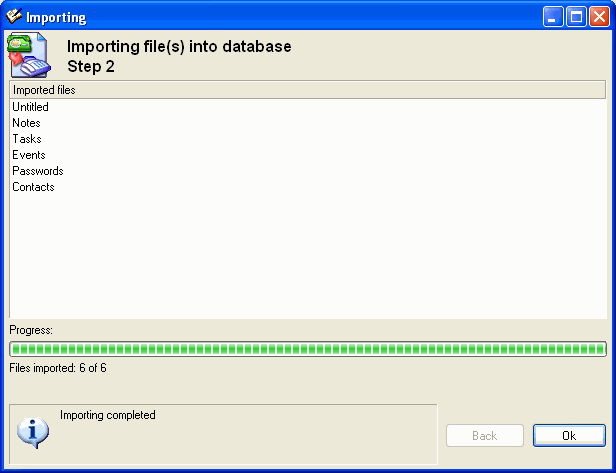
If you import a file of WinOrganizer
format, the second step will consist of an automatic data transfer
from the selected file. Importing will be over after this step is
performed.
The progress of performing this operation is indicated by the
Progress indicator.
Example of the WinOrganizer file
importing dialog box:
Upon importing *.txt, *.rtf file(s) into
Notes, Step 2 is the same as the above-mentioned.
The process of importing WinOrganizer files and *.txt,
*.rtf files into Notes ends at this very step.
Importing *.txt, *.csv files into other document
types is slightly different (Tasks, Events,
Passwords, Contacts. Importing documents of these
types consists of 5 steps.
Let's take a look at importing a *.csv file into Tasks, for
example.
Step 2 will be the following:
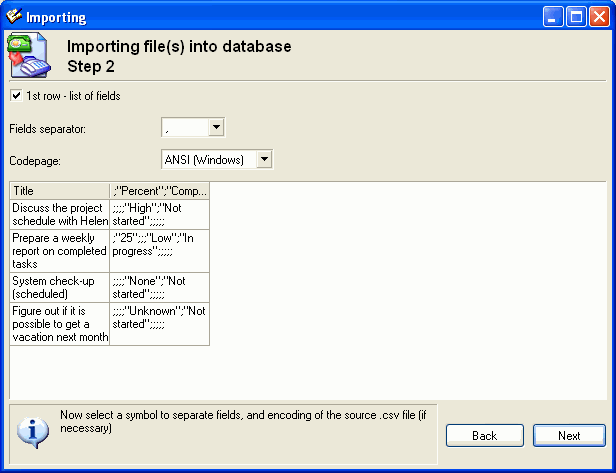
Depending on the format of a csv file, there may be certain
variations in the import settings.
The beginning of a csv file may contain a list of all fields
of the file.
If the first row (line) of your csv file contains a list of
fields, you must select the 1st row - list of fields option.
Select a desired field separator in the Fields separator
dropdown list, depending on a separator used in the given
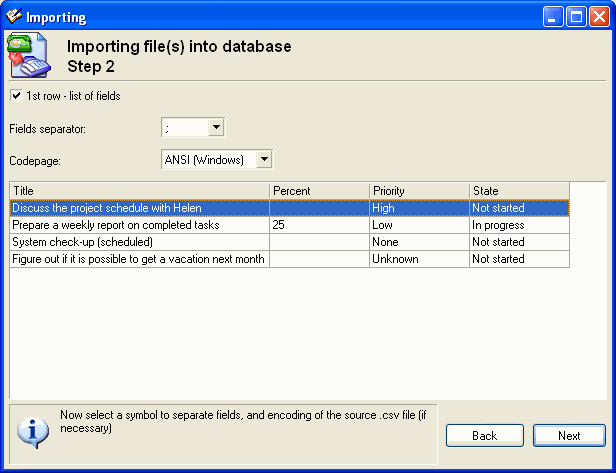
csv file: "," , ";", or Tab (tab
character). ";" is a separator in the example given
below.
The Codepage dropdown list enables you to select one of the
possible file codepages: ANSI (Windows) or OEM
(MS-DOS).
A list of fields and corresponding values are displayed in the
middle part of the dialog box.
An example of the dialog box with a correct field separator and
codepage:
Step 3. Field correlation
Correlation of field lists is used to inform the program from which
fields of a source file should it transfer data to which fields of
WinOrganizer.
This dialog box contains 3 lists of fields:
The Source fields list displays all imported fields.
The New fields list displays a tree-structured list of
WinOrganizer fields that correspond
to the given document type.
The Field "..." list displays Source fields
correlated to New fields. (The current New field is
given in brackets).
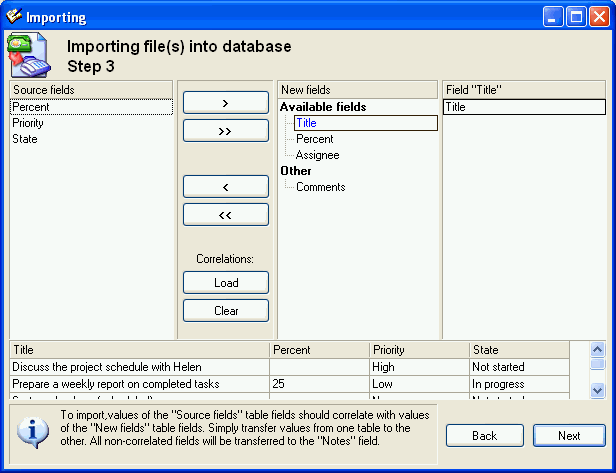
A group of navigation buttons is located in the middle part of the
screen. Use these buttons to transfer a field from the Source
fields list to the New fields list. You can do the same
operation using the mouse. Just drag required fields from one list
to another.
The Load button is active only if some importing has
previously been performed. The program will automatically restore
the previous field correlations based on the previously performed
importing.
The Clear button cancels all correlations.
The bottom part of the dialog box contains a list of imported
data.
To continue importing, click the Next button.
If not all fields have been correlated, a warning will appear on
the screen:
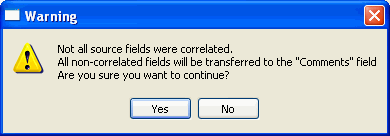
Choose Yes to transfer all non-correlated fields into the
Comments field. Choose No to continue correlating
fields.
Step 4. Checking
The fourth step of importing lets you verify the correctness of all
correlations. For this very reason there is a list consisting of
two columns: Field and Correlated fields.
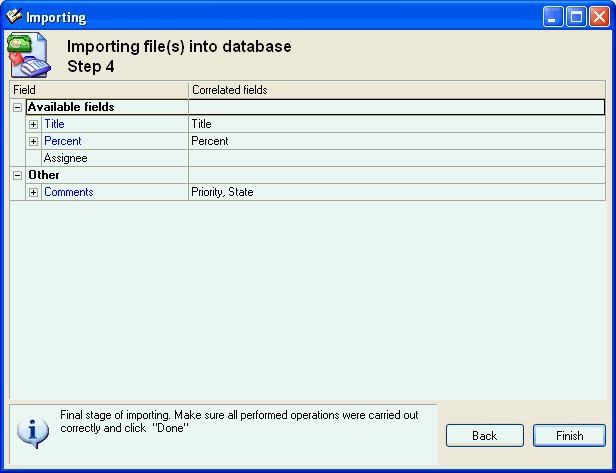
The Field column displays all Available fields (for
Tasks, they are Title and Assignee) and
Other fields (for all document types, this will be
Comments).
Correlated fields are displayed in the right column.
If all correlations are correct, the Next button will start
the importing process.
The Back button enables you to get one or several steps
back.
Step 5. Final stage
During this step the specified data is transferred to WinOrganizer.
The progress of performing this operation is indicated by the
Progress indicator.
|


